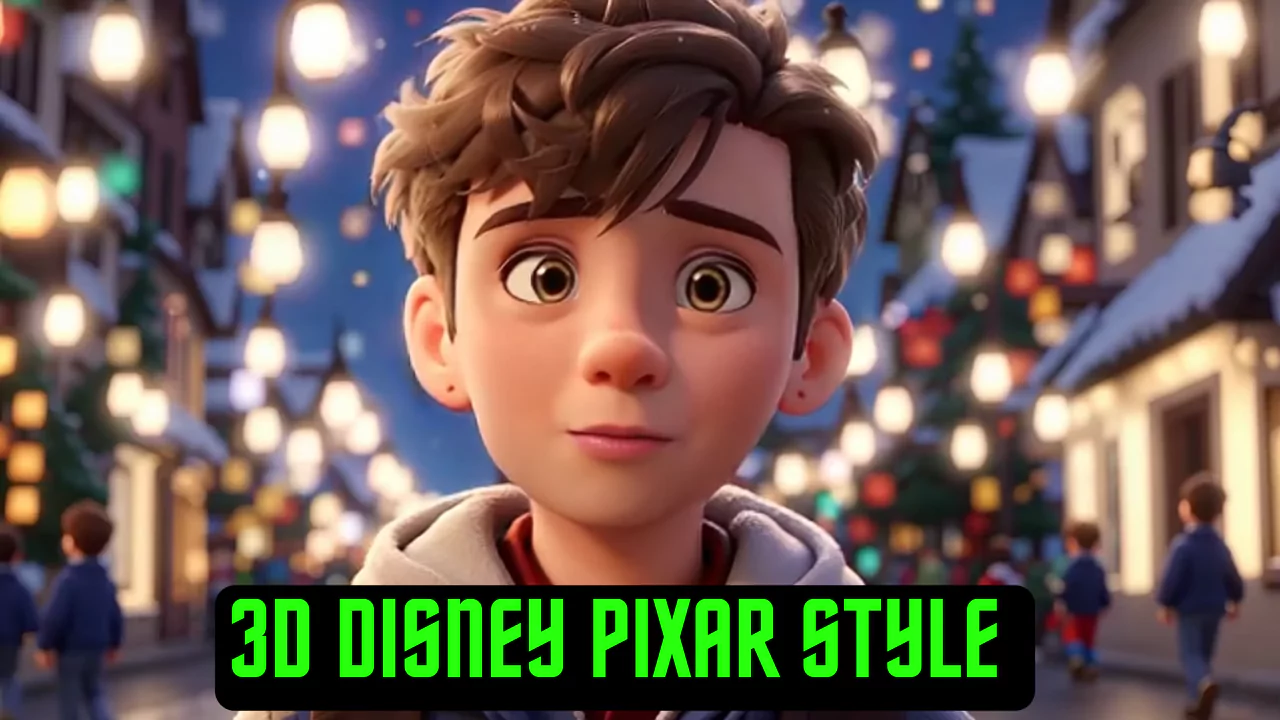
Do you want to create free 3D Disney Pixar style Images, videos and animation? If yes, then this post is made only for you. In this article, I’ll guide you through the process of generating images and animating them to produce a charming children’s animation video in 3D Disney Pixar style, using accessible AI tools.
Step 1: Generating Images with Leonardo AI
The first step in creating your animation masterpiece is to generate a series of images that will serve as the building blocks for your video. For this tutorial, we’ll be utilizing Leonardo AI, a versatile AI tool that specializes in text-to-image generation. Follow these steps to get started:
1.1 Sign Up for Leonardo AI
If you haven’t already, create an account on Leonardo AI’s platform.
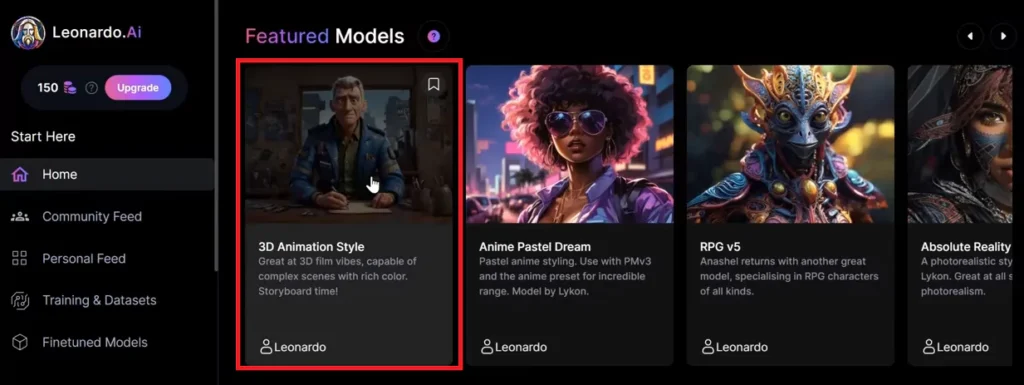
1.2 Choose Your Animation Style
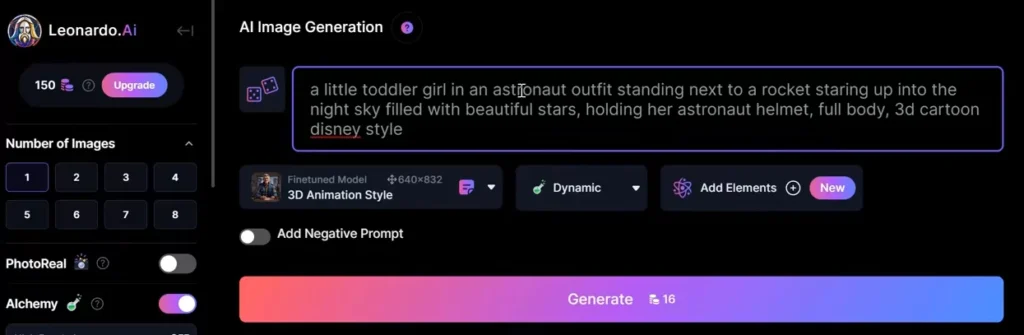
Leonardo AI offers various styles for image generation. Select the 3D animation style, which provides a Disney/Pixar aesthetic.
1.3 Input Your Prompt
Craft a descriptive prompt that encapsulates the scene you want to create. For example, “A little girl in an astronaut outfit standing next to a rocket, staring up into the night sky filled with beautiful stars, holding her astronaut helmet.”
1.4 Generate Images
Submit your prompt and you may need to experiment with different prompts to achieve your desired images.
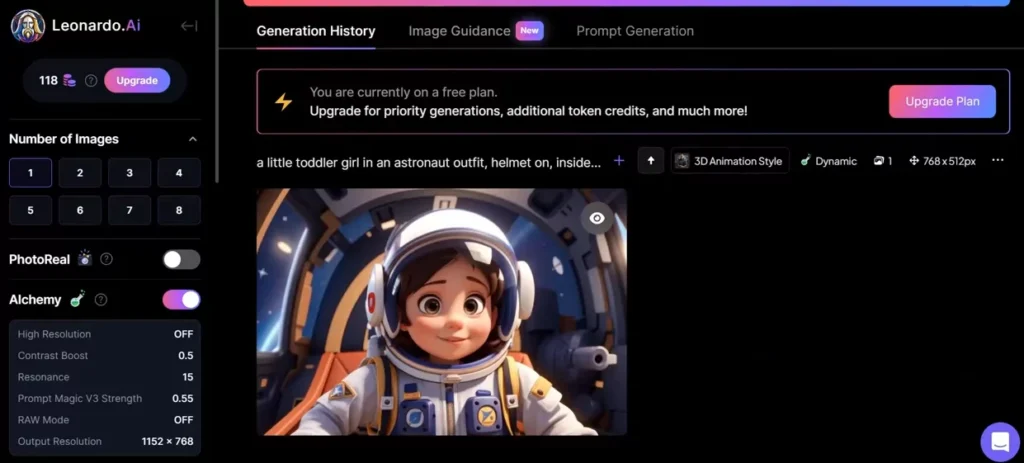
1.5 Download Images
Once generated, download the images that best fit your vision for the animation.
Step 2: Animating Images with RunwayML Gen 2
Now that we have our images, it’s time to breathe life into them through animation. RunwayML Gen 2 offers a user-friendly platform for animating images effortlessly:
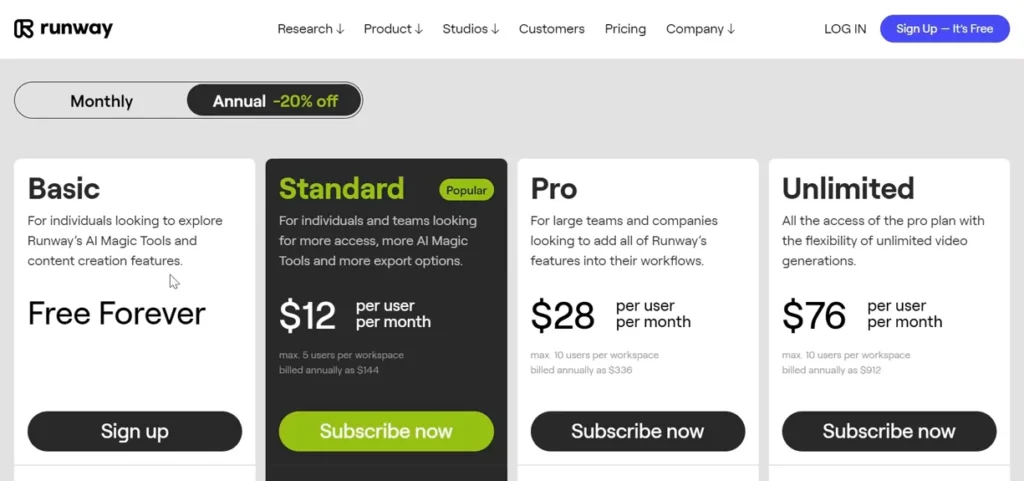
2.1 Access RunwayML Gen 2
Sign up for RunwayML Gen 2, either through the free trial or subscription options.
2.2 Upload Images
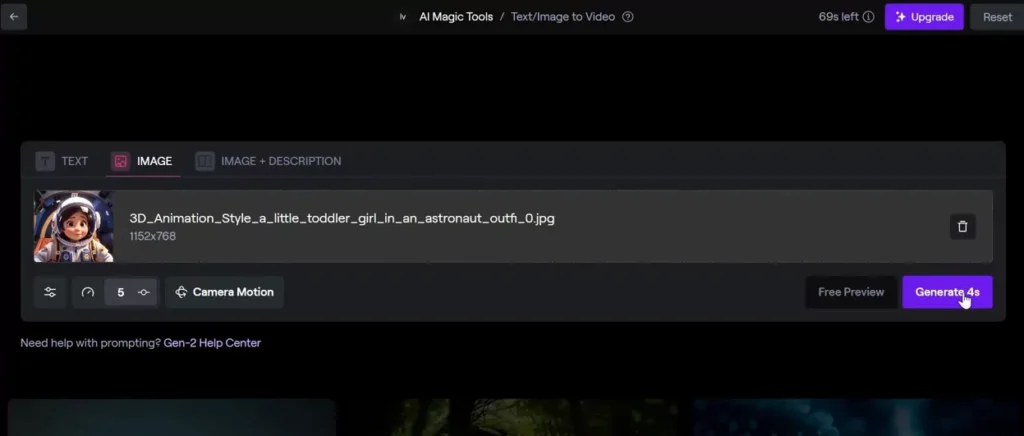
Import the images generated from Leonardo AI into the RunwayML Gen 2 dashboard.
2.3 Generate Animation
Without altering the images, initiate the animation process. Specify the duration of the animation, and RunwayML Gen 2 will animate the images accordingly.
2.4 Review and Refine
Preview the animation and make any necessary adjustments. RunwayML Gen 2 offers flexibility in tweaking the animation to suit your preferences.
Step 3: Adding Character Dialogue with D-ID
To further enhance your animation, D-ID provides a unique feature that allows characters to speak:
3.1 Register with D-ID
Create an account on D-ID’s platform, and if eligible, start with the free trial.
3.2 Upload Animated Images
Transfer the animated images from RunwayML Gen 2 to D-ID’s interface.
3.3 Script Dialogue
Compose dialogue for your characters, aligning with the narrative of your animation.
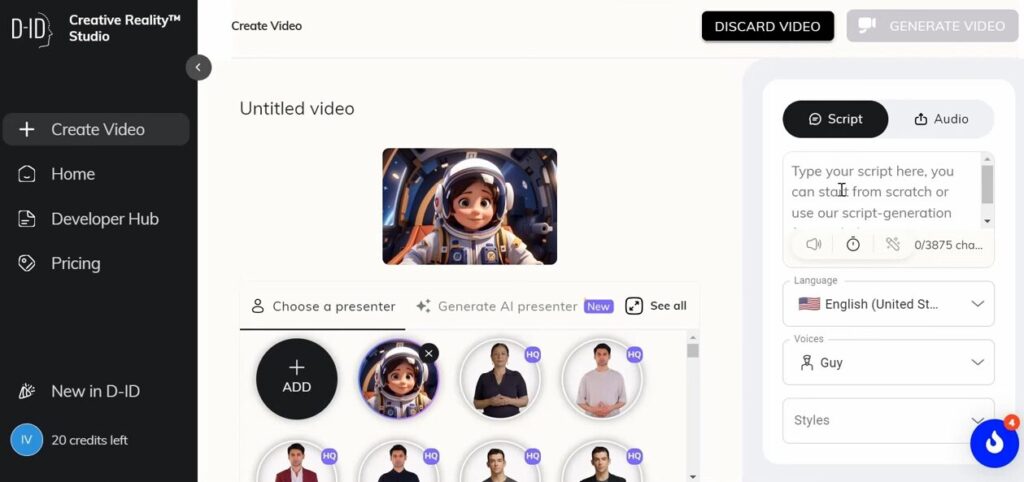
3.4 Select Voice and Language
Choose from a range of voices and languages to match the character’s persona. Preview different options before making your final selection.
3.5 Generate Video
Initiate the video generation process, and D-ID will seamlessly integrate the character dialogue into your animation.
Step 4: Final Touches with Capcut
With the animation and dialogue in place, it’s time to bring everything together using Capcut, a versatile video editing tool:
4.1 Import Animated Clips
Transfer the animated clips from D-ID to Capcut’s editing interface.
4.2 Arrange and Edit
Arrange the clips in chronological order, and apply any necessary edits or transitions to enhance the flow of the animation.
4.3 Preview and Export
Preview the final animation to ensure everything aligns with your vision. Once satisfied, export the video in your desired format.
Conclusion
By using the AI tools like Leonardo AI, Runway ML Gen 2, D-ID, and Capcut, creating your own 3d pixar style animation video has never been more accessible. You can craft captivating animations that rival those produced by professional studios.